
Deburring is part of sharpening
A burr is a thin lip of displaced metal at the edge. For a beginner sharpening routine, a small burr can help show that the abrasive has reached the edge. It must then be removed; leaving it attached can give an edge that initially cuts but quickly loses that behaviour.
Check your progress along the heel, middle and tip rather than concentrating only on the centre of the blade.
Finish on the stone first
Reduce pressure and use controlled alternating strokes. The aim is to remove the burr without repeatedly forming a larger one on the opposite side. Technique depends on the stone and knife, so work slowly and check the result.
You can finish a kitchen edge on the stone. A leather strop is not required to learn burr removal or complete a starter sharpening setup.
What an optional strop adds
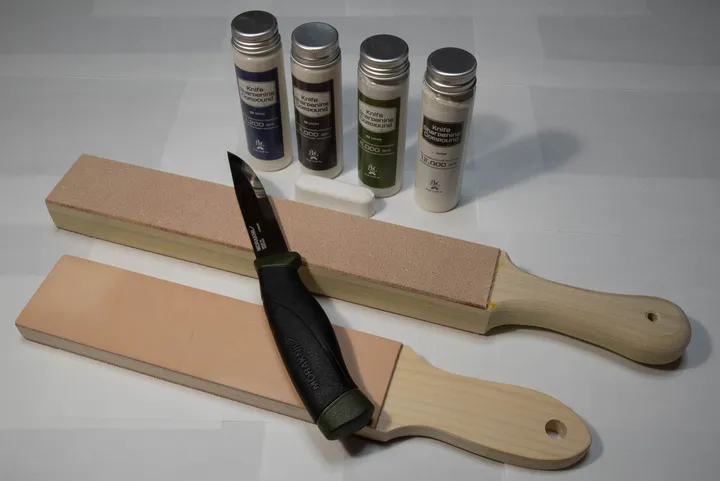
A strop can be used for light finishing after stone work. If you choose one, follow its instructions and use edge-trailing strokes: move with the spine leading, so the edge does not cut into the leather.
Keep pressure light and the angle controlled. A flexible surface and excessive pressure can round the edge. Follow the supplied guidance if using compound rather than adding abrasives indiscriminately.
Stop and check
Rinse and dry the knife, then test its cutting on food with a stable board. More passes are not automatically an improvement. If the result is inconsistent, revisit angle, contact and burr removal rather than buying another finishing tool.
Takeaways
- Start with one medium-grit stone.
- Learn to form and remove the burr before adding tools.
- Finer stones and strops are optional.